
;)
;)
;)
;)
Hi friends , I love magnolia's Tilda because of her innocence and sheer cuteness. It's actually very easy to colour her in with alcohol markers but I wanted to try few techniques with more affordable and available colouring tools.
No line colouring is the new buzz and as I said its easy to do it with copics.
All u need to do is stamp the image with a very light inkpad instead of black and do the rest of the colouring.
I did the same technique using distress markers and I was very happy to get similar results .
Today's tutorial is a picture heavy post so sit back and follow me....��
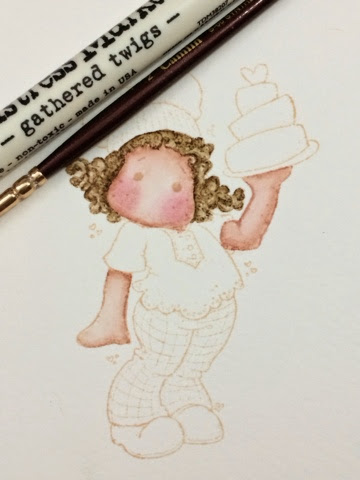
Step 1- stamp the image with desert sand ink on a water colour paper.
(Guys please zoom in to see the impression ..it's there....lol)

Step 2- with the help of a thin brush colour all the skin with Tattered rose .
Use inward stokes so the colour lightens up towards the nose.

Step 3- add the pink blush on her cheeks with spun sugar.

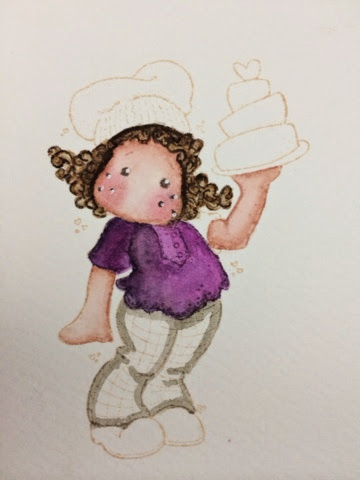
Step 4- colour the hair keeping in mind her curls and shadows.

Step 5- colour the dress with two shades of purple. Add pumice stone for her pants.
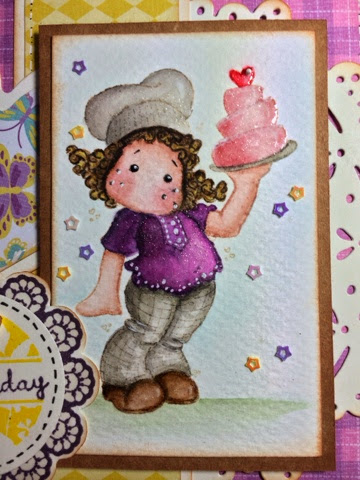
Step 6- add black soot to add more depth in her pants and chef cap.

Colour the shoes with vintage photo.


Gr8!!! It's done .... Wasn't it easy friends?
To bring some glow and interst I added few faux stitched lines with white gel pen and wink of stell over her cap , shirt and cake.
But then as usual I wasn't satisfied ��and I loaded it with glossy accents and my latest black enamel accents (by ranger) for her eyes.


See ya soon...
Happy crafting!!!
Love
Arjita
List of supplies :
Memento inks