;)
;)
;)
;)
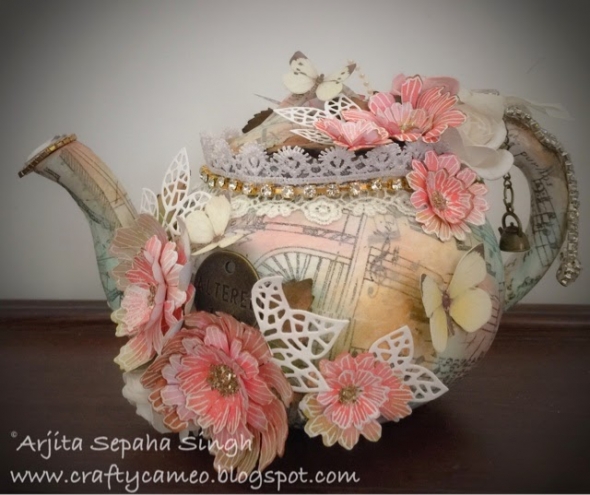
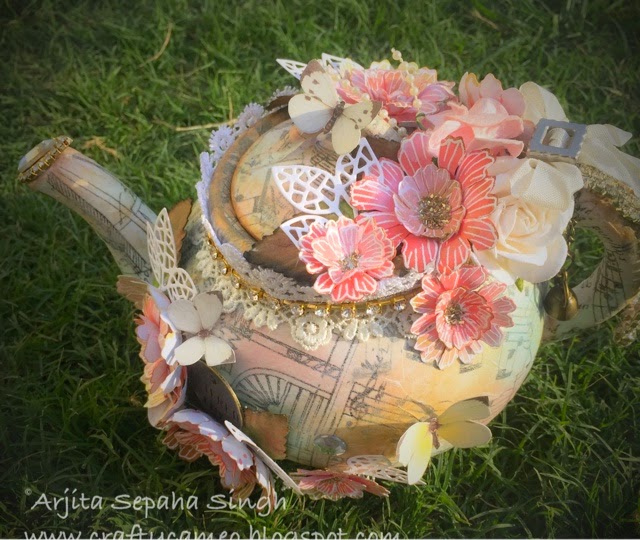
Today I got my hands on an old teapot and gave it a makeover. I have a detailed video tutorial at the end of the post and u can watch all the steps I used to create it.
For quick reference I am sharing some steps and pictures...
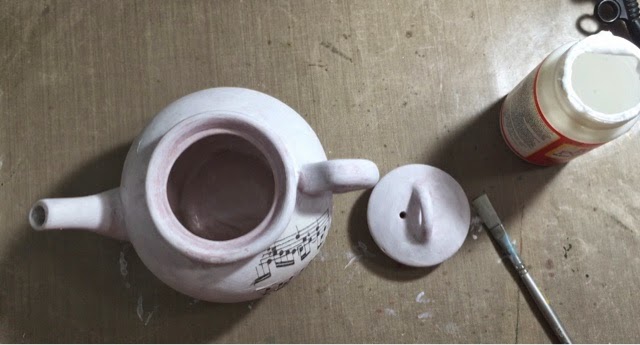
Step 1:
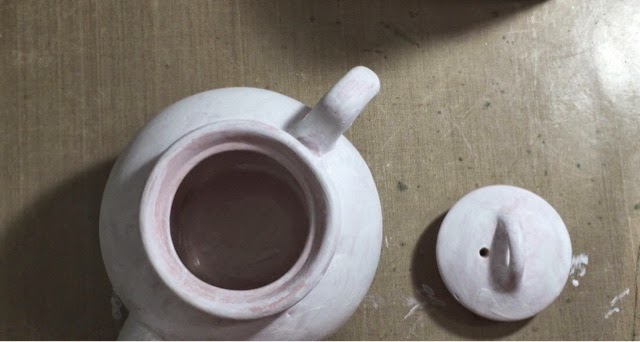
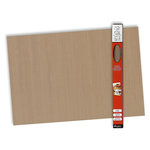
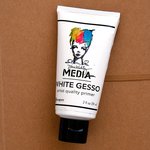
Clean the teapot properly and allow it to dry. Apply 2-3 coats of gesso to prime the surface. Allow it to dry naturally or use the ranger Heat It took to dry it faster.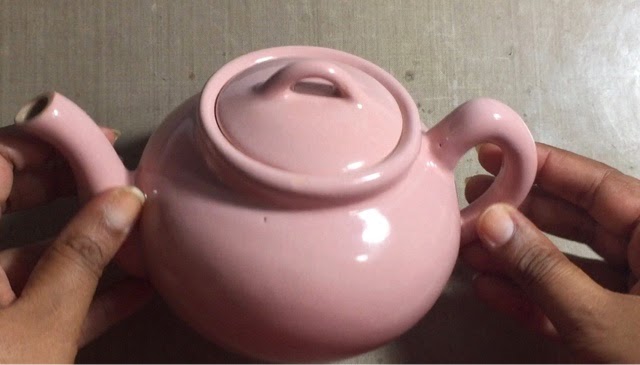
Step 2:
Take modpodge and Tim holtz Tissue paper and stick it over the entire surface of the tea pot. This is called decoupage and it gives the surface a new look and texture. Once dry add thin diluted layer of gesso to lighten the print .

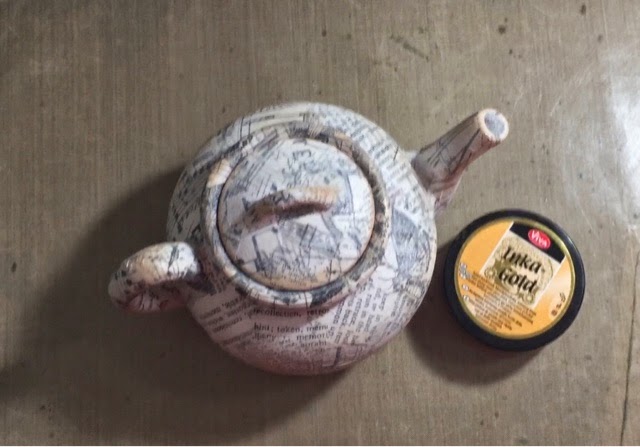
Step 3:
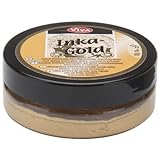
Take prima chalk edgers in shade DRY SAND to distress the edges. Blend using a wet baby wipe. Then add Inka gold GOLD on the egdes and other spots to give the teapot an old Victorian look.
Inka gold are highly pigmented creamy wax based paints which can go on porous/non porous surface and dry super quick.
step 4:
Now add the Distress Inks with the help of a sponge and I used CRACKED PISTACHIO , BROKEN CHINA AND WORN LIPSTICK all over the tea pot.
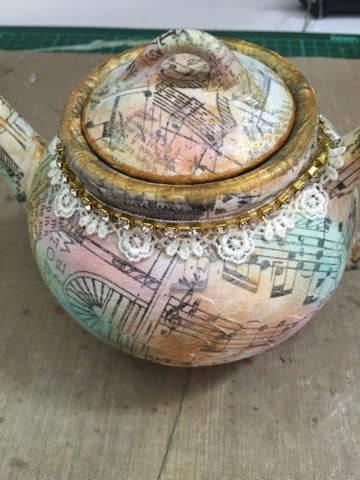
This is all I did to prep the surface and then I started with the embelishments.
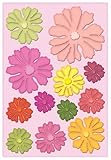
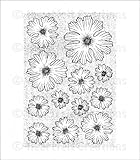
I chose heartfelt creations majestic morning Die and stamp to make my flowers. And Elizabeth crafts leaf die for my project today.
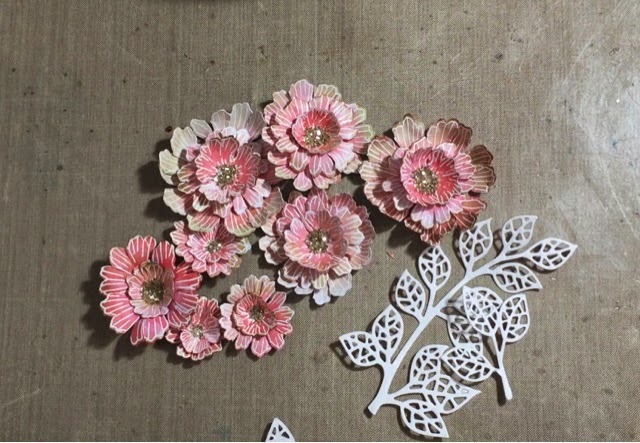
Step 1:
Stamped the stamp with versafine watermark ink and heat embossed using ultra fine white embossing powder.
Step 2:
Die cut the flowers by creating a die template .
Step 3:
Colour the flowers with distress inks
ABANDONED CORAL,PEELED PAINT AND WORN LIPSTICK.
I used a water brush to colour the flowers and the embossing areas left white.

Step 4:
Moulded the flowers with a ball stylus and stuck them together. Then added some gold glass glitter in the centres using aleen's tacky glue.
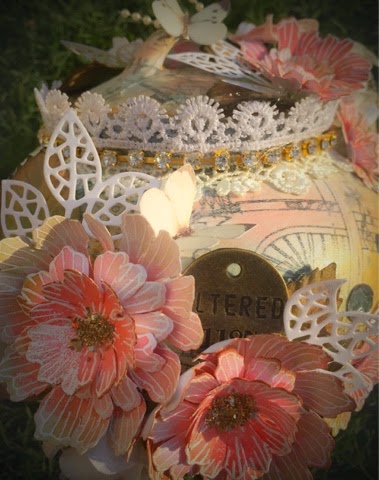
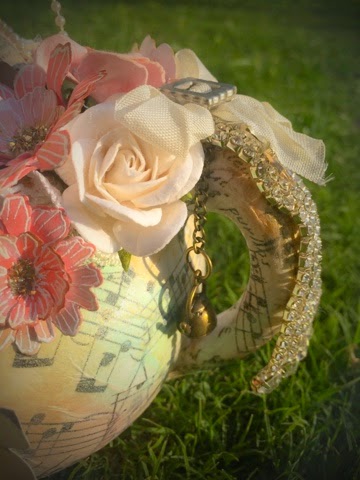
Finally I arranged everything on my teapot. I also used three butterflies from the peon papers, few mulberry roses and leaves to make my bunch look fuller.
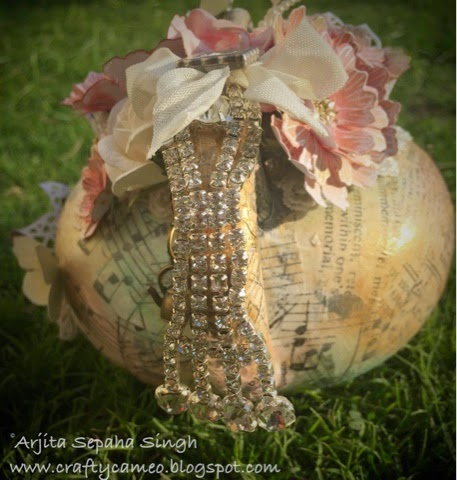
Added few blings ,metal charms and lace to make the look complete.
I have a detailed video showing all the above steps.
Here is the link:
Hope u liked my post for today.
See u soon....till then keep crafting
And take care
Hugs
Arjita
LIST OF SUPPLIES
from stash
Bling
mulbery flowers
metal chamrs
seam binding
pearls
 |
 |
 |
 |
 |
 |
 |
 |
 |
 |
 |
 |
 |
 |
 |
 |
 |
 |